These are the instructions for setting up the updater (now playing and up next)
Table of contents
StationPlaylist Studio
Adding spls-template.yml to your StationPlaylist templates
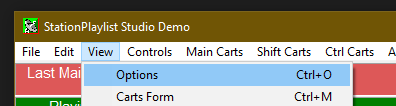
Go to Controls > Options in the toolbar or press Ctrl+O.
An options window should have popped up.
Go to the Now Playing section of the options, then select the File Output tab.
If not, next to the template, click on the Edit button:

(the selected template does not matter)
Delete everything in the notepad window that opened up, then copy and paste all the contents of spls-template.yml (located in the directory you installed SPL-OBS into, or here) into there.
Then, go to File > Save As or Ctrl+Shift+S, and save as spls-template.yml alongside all the other templates, making sure to choose All Files (*.*) under the Save as type: dropdown: 
Close the StationPlaylist options screen and notepad.
Configuring the output
With that done, it’s time to configure the primary output section of StationPlaylist.
Go to Controls > Options in the toolbar or press Ctrl+O.
An options window should have popped up.
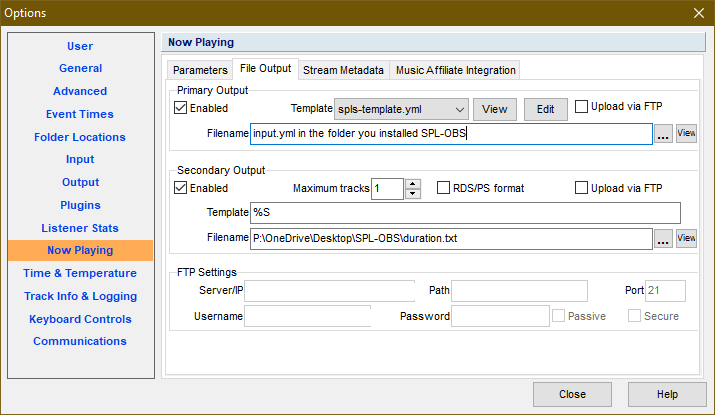
- Go to the Now Playing section of the options.
- Select the File Output tab.
- Make sure the Primary Output is Enabled.
- In the Template dropdown, select the
spls-template.ymlfile you made in the last section. - Set the Filename to the
input.ymlin the folder you installed SPL-OBS. Use the...button to open a file selector.
Configuration
Configuration is done via a simple INI file, called updater.ini:
The above are the defaults, should something break.
[obs-websockets] (required)
Just copy over the values you entered while setting up the WebSockets Server.
host
Default: localhost
This is essentially the IP address of the WebSockets server, in 99.999999999% of cases it will be localhost, only advanced users (i.e. someone running StationPlaylist and OBS on seperate computers) should ever need to change this.
port
Default: 4444
The default port is 4444 which is also the default port of the WebSockets server. This can be changed but there generally is no reason to do so.
password
Default: obs-spl
PLEASE CHANGE THE PASSWORD FROM THE DEFAULT.
Do so in both this file and in OBS.
[twitch]
See the Twitch page.
[nowplaying]
See the Now Playing Options page for more options.
enabled
Default: yes
Set to no to entirely disable the now playing display.
[upcoming]
See the Upcoming Options page for more options.
enabled
Default: yes
Set to no to entirely disable the upcoming songs display.
[debug] (optional developer options)
You generally shouldn’t need to mess with these, but if you want to anyway, here’s what they do:
loglevel
Default: INFO
This is the amount of output the program provides in the console log. Possible values are: NOTSET, DEBUG, INFO, WARNING, ERROR, and CRITICAL, in decreasing verbosity.
OBS Studio
SECTION UNFINISHED
Make sure your WebSockets server settings match those in countdown.ini.
SECTION CONTAINS INACCURACIES
See Configuration and Setup the WebSockets Server for more information.
Add the nowplaying and upnext sources.
Add a new text source by going to + > Text (GDI+).

Call the new sources nowplaying and upnext, with no spaces, casing, or punctuation, then press OK.
IMAGE NEEDS REPLACEMENT
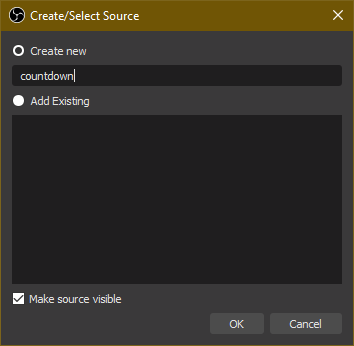
You can ignore the properties window that pops up for now, by pressing OK or Cancel, either works.
Testing and Usage
Double-click SPL-OBS Countdown executable in the folder you installed SPL-OBS in. A window like this should pop-up. If a window briefly pops up then disappears, or doesn’t popup at all, check that your configuration is correct, specifically the [obs-websockets] config.
SECTION UNFINISHED