These are the instructions for downloading and installing SPL-OBS.
Table of contents
Program Installation
Download the files
Download the latest release from the releases page on GitHub:
Unzip to a folder
Make a new folder in an easily accessible location, as this is where the program files will be stored, and is a folder you’ll need to modify often. You can call it whatever you want, but a name like SPL-OBS on your desktop would probably be easier to find later than, say, New Folder (18374) in Random Stuff (copy) (copy).
Then, extract the contents of the file you downloaded into the folder.
It should now look something like this: 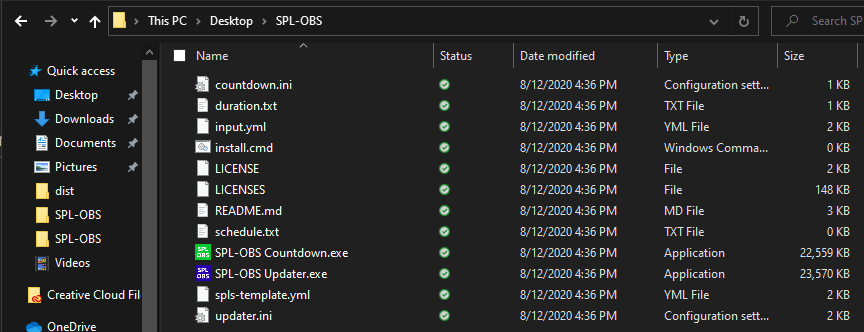
Make sure the app icons are visible, if not, you might not have extracted the files: 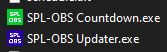
OBS Studio Setup
This section asssumes that you have a functional OBS Studio setup.
Download obs-websocket
obs-websocket is the plugin that SPL-OBS uses to interface with OBS Studio, and must be installed to use SPL-OBS.
Use the .exe installer (recommended)
Use this if you installed OBS Studio normally (using an installer) and not portably
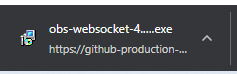
First, download the file obs-websocket-4.8.0-Windows-Installer.exe from the link above, then launch it.
You will be asked for administrator privilages, which you should grant.
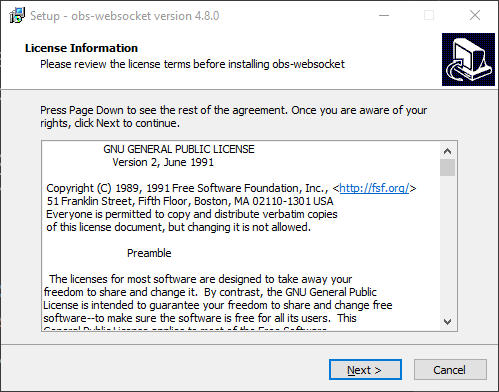
Read and agree to the license.
And then press next until installation is complete.
.zip installation (advanced/portable)
If you have a portable install, are on another platform, or the installer doesn’t work, download the .zip file in the releases and copy its contents into the root of your OBS Studio folder.
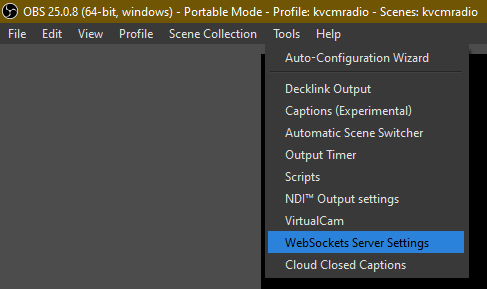
Setup the WebSockets server
First, launch OBS Studio, then on the toolbar, go to Tools > WebSockets Server Settings
You should have a window like this pop-up:
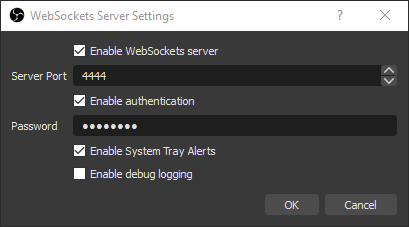
The only thing you should have to change is the password, hopefully to one that is more secure.
You should also make sure that  is checked.
Installation complete
The program is now installed, but must be set up to function properly.